

Indoor gardening can be a rewarding hobby, but sometimes our leafy friends need a bit more room to stretch their roots. Just like us, plants can feel cramped when their living space becomes too tight. Knowing when to repot a root-bound plant is crucial for maintaining its health and vigor. Let’s explore how to identify the signs that your plant is ready for a new home.
What Does “Root-Bound” Mean?
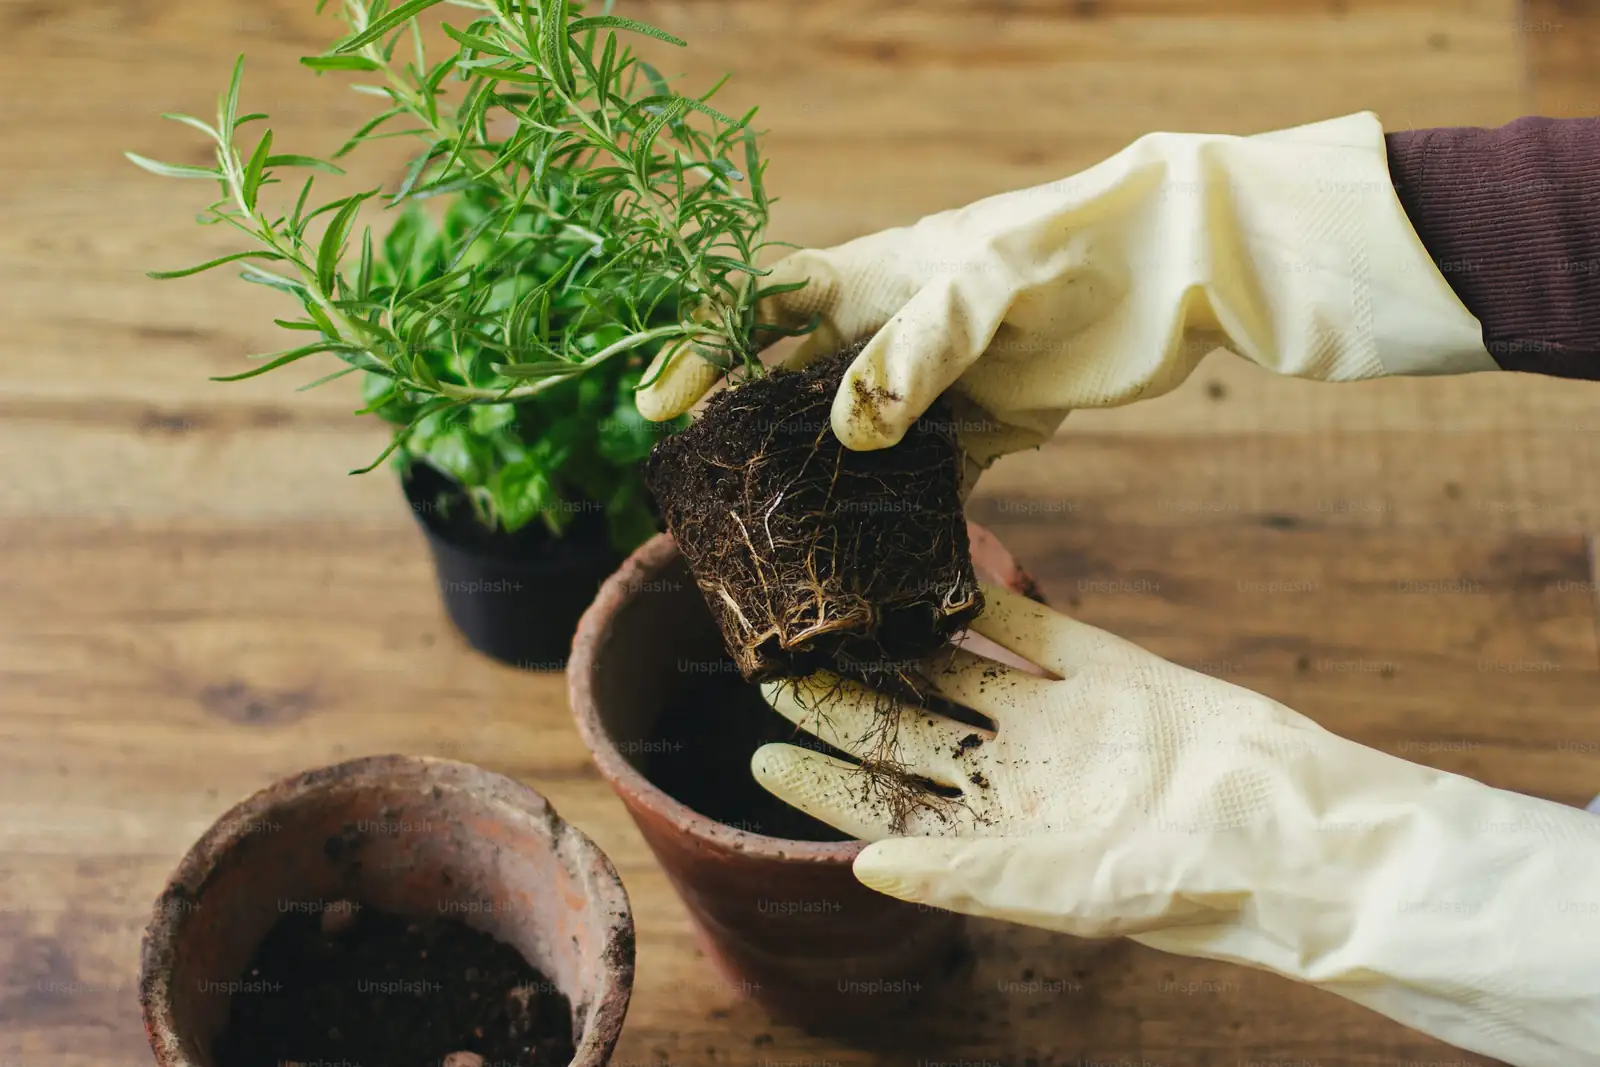
A plant becomes root-bound when its roots have outgrown its pot, forming a dense, tangled mass that closely follows the shape of the container. This condition restricts the roots’ access to essential nutrients, water, and air, which can eventually lead to health issues for your plant. If you suspect your plant might be root-bound, here are some tell-tale signs to look for:
1. Roots Emerge from Drainage Holes
One of the most obvious signs that a plant is root-bound is when roots start poking out of the drainage holes at the bottom of the pot. This indicates that the roots are seeking more space to grow. If you notice this, it’s time to consider moving your plant to a larger pot.
2. Frequent Watering Required
Plants that suddenly need more frequent watering might be signaling that they’re root-bound. When roots crowd out the soil, there’s less room for water retention, causing the soil to dry out quickly. If your plant used to need water weekly, but now demands a drink every couple of days, it might be time to give it more space.
3. Soil is Hard and Compact
Try sticking your finger into the soil. If the soil feels hard and compact, it might be due to the dense network of roots pushing out the soil. This compaction can prevent water and nutrients from reaching the roots effectively.
4. Stunted Growth and Yellow Leaves
If your plant has stopped growing or is showing yellow leaves despite proper care, it might be struggling in its current pot. While these symptoms can indicate other issues, they often accompany a root-bound condition.
What to Do Next?
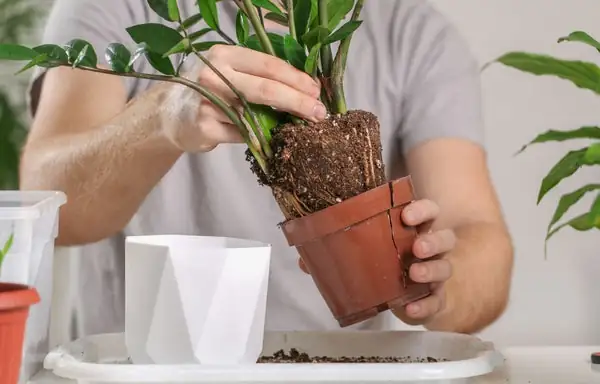
Once you’ve identified that your plant is root-bound, it’s time to take action. Here are some steps to help your plant transition smoothly to a new pot:
- Choose the Right Pot: Select a pot that’s about 1-2 inches larger in diameter than the current one to give your plant room to grow without overwhelming it.
- Gently Remove the Plant: Carefully tip the pot on its side and ease the plant out. If it’s stuck, you may need to run a knife around the edge of the pot to loosen the roots.
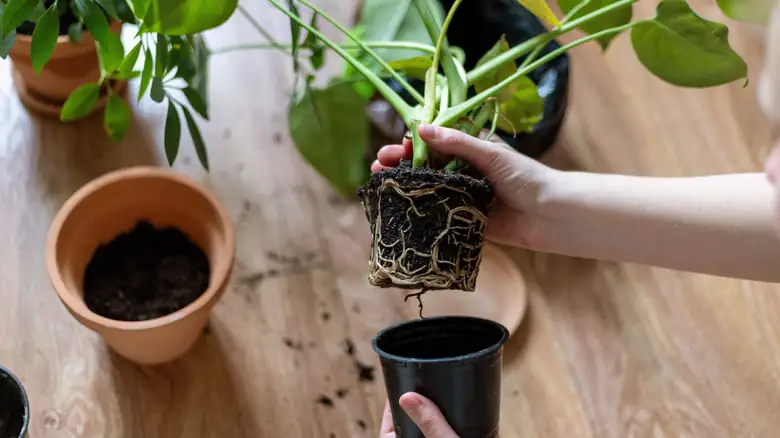
- Loosen the Roots: Massage the root ball gently to free the roots. If they’re particularly tight, you can make vertical cuts with a clean knife or scissors to help spread them out.
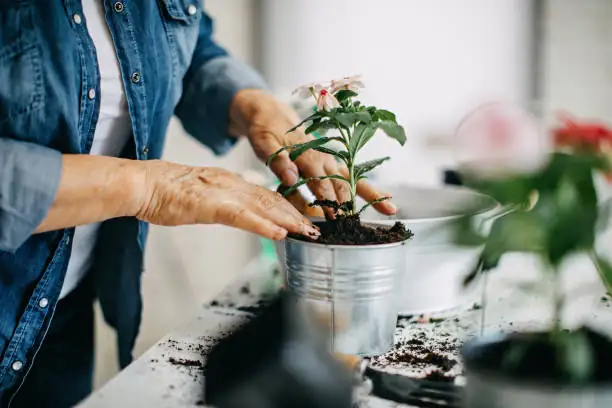
- Repot with Fresh Soil: Place the plant in the new pot with fresh, high-quality potting mix. Ensure it’s at the same depth it was growing at in the old pot.
- Water Thoroughly: After repotting, give your plant a good watering to help it settle in its new home.
Common Mistakes to Avoid
- Overpotting: Avoid moving your plant to a pot that’s too large, as this can lead to waterlogging and root rot.
- Ignoring Signs: Don’t ignore the signs of a root-bound plant, as prolonged neglect can harm your plant’s health.
- Rough Handling: Be gentle when handling the roots to avoid unnecessary stress or damage to the plant.
Repotting your plant when needed can rejuvenate its growth and ensure its continued health. Keep an eye out for these signs, and give your green friends the space they need to thrive. Happy gardening!


