

The ZZ Plant, or Zamioculcas zamiifolia, is like the superhero of houseplants. With its glossy, coin-like leaflets and ability to thrive in low light and with minimal water, it’s no wonder this plant is often referred to as the “Eternity Plant.” But why keep all this beauty to yourself? Propagating your ZZ plant is an exciting way to share its charm with friends or simply expand your collection. Let’s dive into the art of ZZ plant propagation and learn how to master it through dividing rhizomes and growing from cuttings.
Introduction to ZZ Plant Propagation
If you’ve ever gazed at your ZZ plant and thought, “I wish I had more of these,” you’re in luck. Propagation is not only possible but also quite rewarding. There are several methods to propagate ZZ plants, each with its unique benefits and challenges. Whether you choose to divide rhizomes or grow from cuttings, you’ll find that the process, while requiring patience, is straightforward and immensely satisfying.
Dividing Rhizomes: The Fast Track to New Plants
Why Divide Rhizomes?
Dividing rhizomes is the quickest way to propagate your ZZ plant. This method involves separating the plant at its underground rhizomes—those thick, tuber-like structures that store water and nutrients. It’s like slicing a cake but with more green thumb finesse!
Step-by-Step Guide to Rhizome Division
- Timing is Everything: Plan to divide during the growing season, ideally in late spring or early summer, when the plant is most active.
- Prepare Your Tools: Grab a clean, sharp knife or garden shears. Sterilize them with rubbing alcohol to prevent disease transmission.
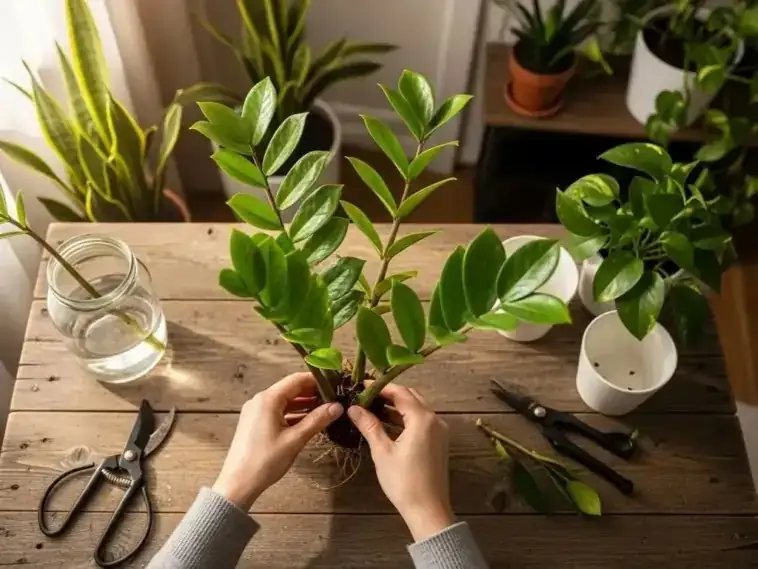
- Remove the Plant from Its Pot: Gently tip the pot and slide the plant out, being careful not to damage the roots.
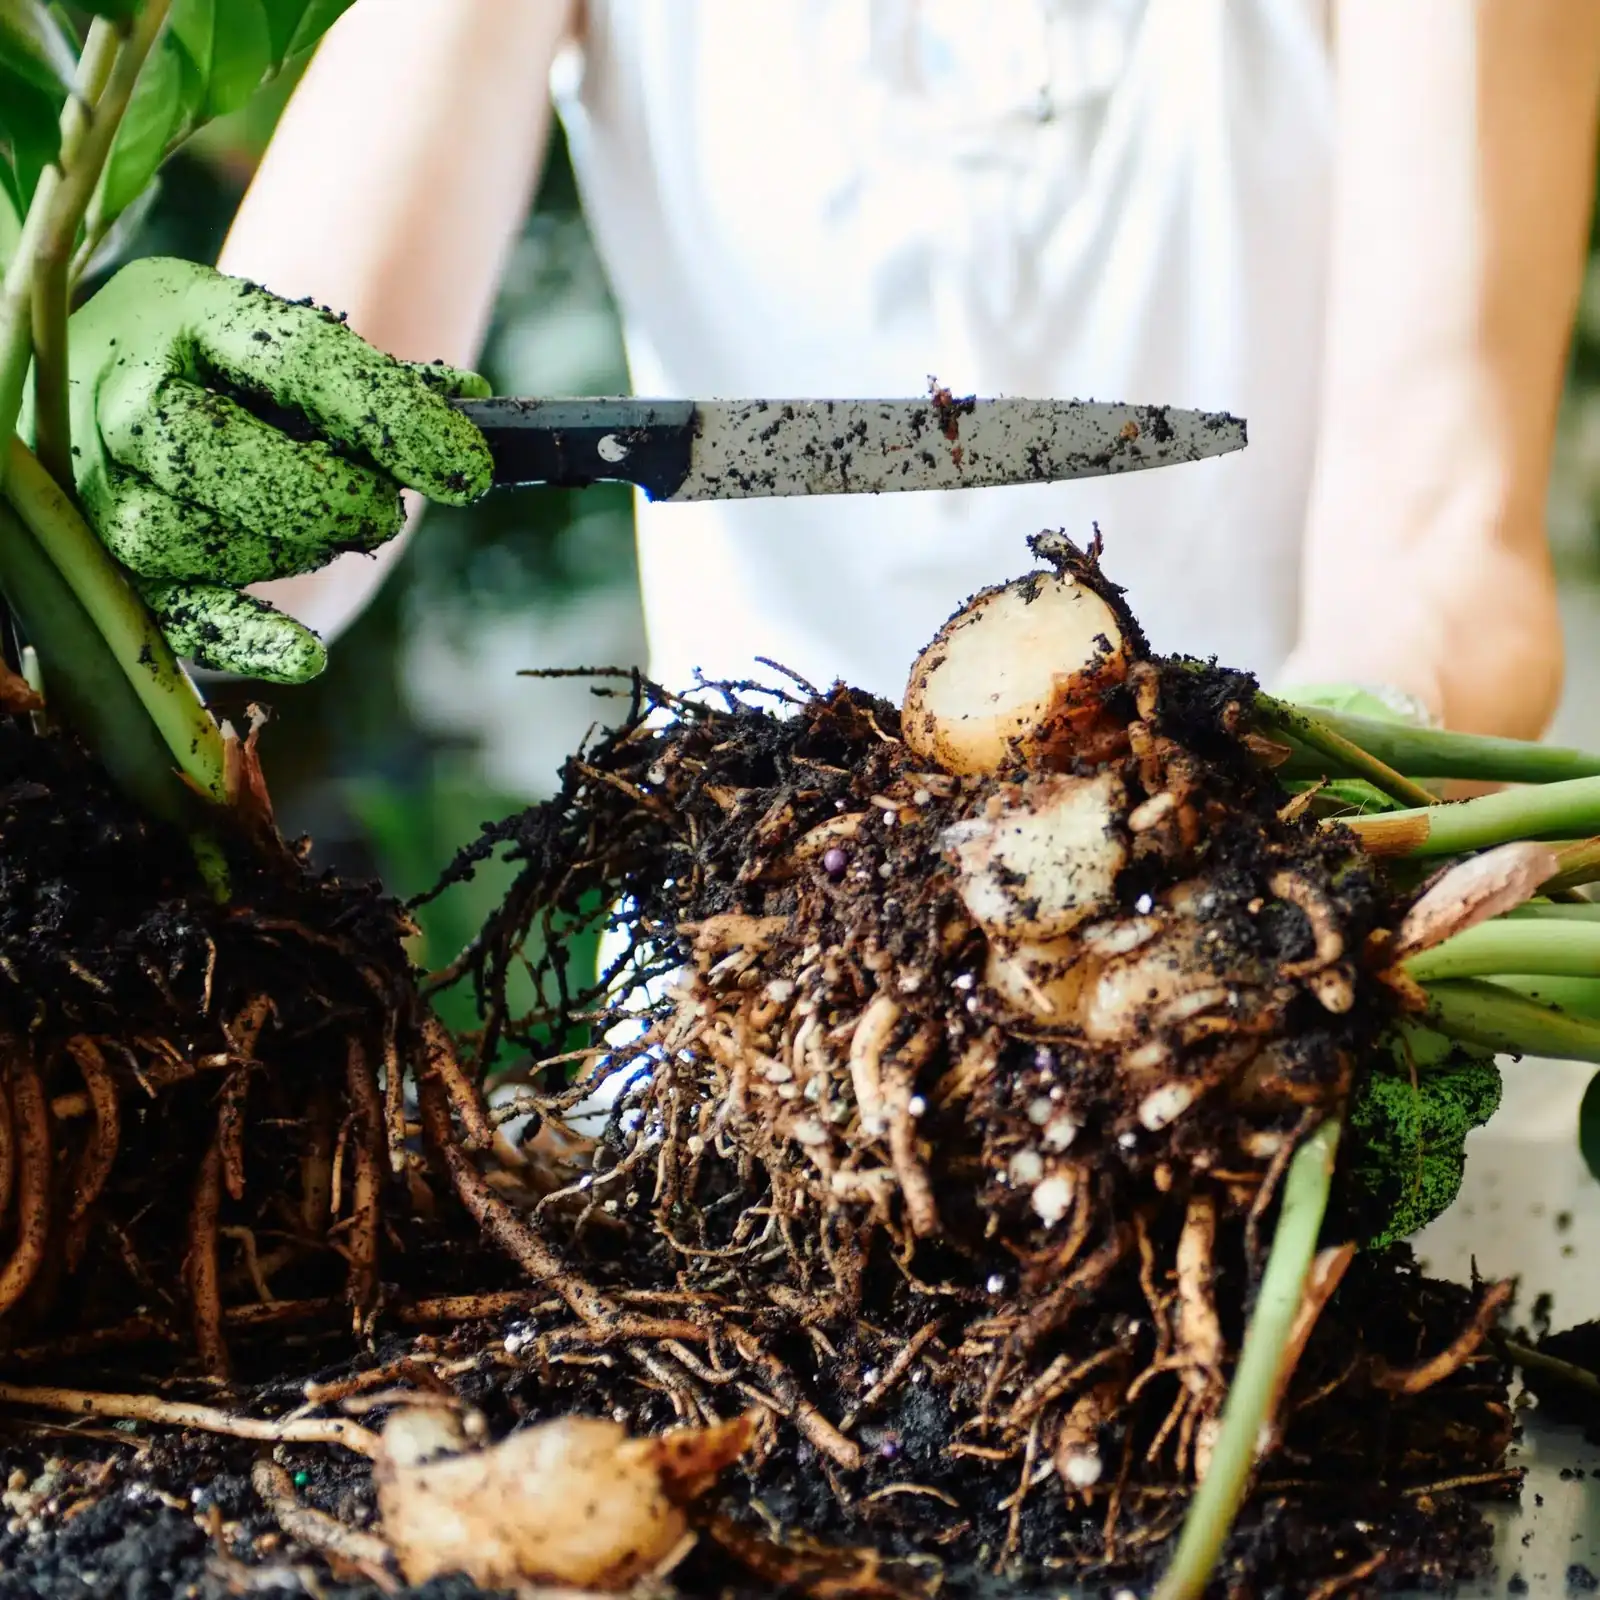
- Inspect the Rhizomes: Look for natural divisions in the rhizome cluster. These are spots where the plant naturally separates.
- Make the Cut: With your sterilized knife, slice through the rhizome, ensuring each new section has a healthy stem and some roots attached.
- Let Them Heal: Allow the cut surfaces to dry and callus for a couple of hours to prevent rot.
- Pot Them Up: Plant each new section in its own pot filled with a fast-draining soil mix. A blend of potting soil and perlite or coarse sand works well.
- Care for Your New Plants: Place the pots in bright, indirect light. Water sparingly until you see new growth, signaling that the plants have settled in.
Growing from Cuttings: Patience is a Virtue
Why Choose Cuttings?
While dividing rhizomes is the fastest method, growing from cuttings allows you to propagate more plants at once. This method, although slower, is perfect for those who enjoy watching the miracle of nature unfold over time.
Stem Cuttings: A Step-by-Step Approach
- Select Your Stems: Choose healthy, mature stems and use sharp, disinfected shears to cut them at the base.
- Prepare for Rooting: Remove the bottom leaves to expose nodes, which will encourage root development.
- Callus Time: Let the cut ends dry in a warm, dry place for a few hours to form a protective callus.
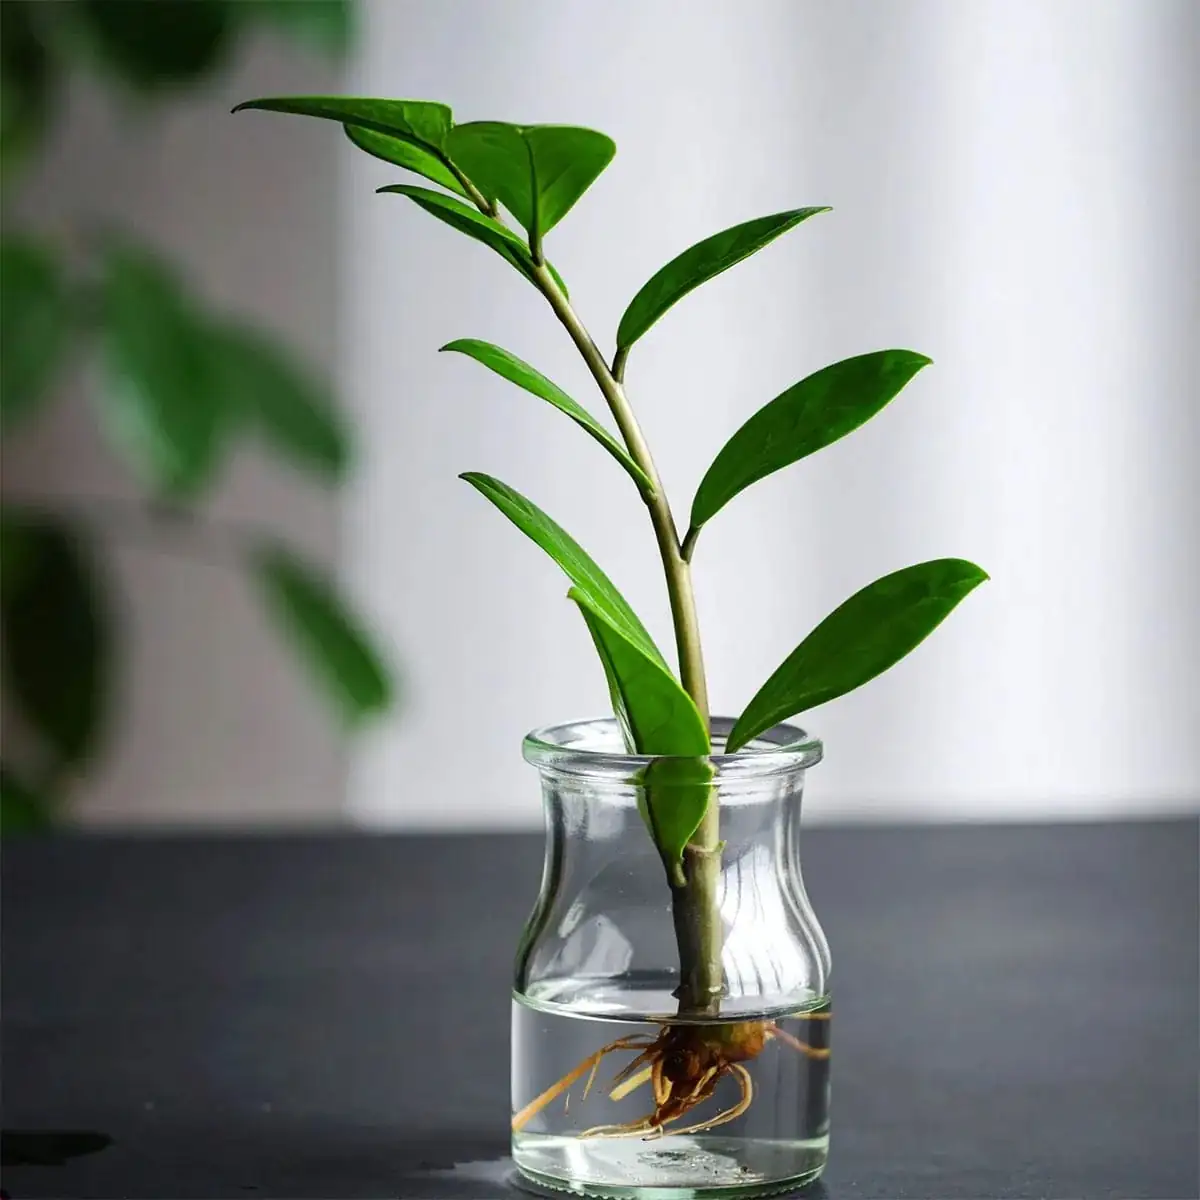
- Choose Your Medium: Decide whether to root in water or soil. Both methods are effective, but water allows you to watch the roots grow.
- Water Method: Place the cuttings in a glass of water, submerging only the cut end. Change the water weekly.
- Soil Method: Plant the calloused end in a well-draining potting mix.
- Placement and Care: Keep the cuttings in bright, indirect light. Be patient—roots may take several weeks to form.
- Transplanting: Once roots are a few inches long, transfer the cuttings to pots with well-draining soil.
Leaf Cuttings: A Slow but Steady Method
For a truly patient gardener, leaf cuttings offer another propagation avenue. Simply snip off a few leaves, let them callus, and plant them in soil. While this method can take months to show results, it’s fascinating to watch the leaf’s transformation into a new plant.
Final Tips for Successful Propagation
- Stay Vigilant: Watch out for pests like mealybugs and scale, which can hinder growth.
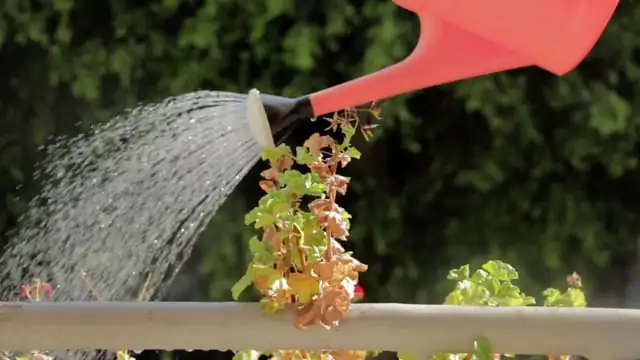
- Avoid Overwatering: ZZ plants prefer to dry out between waterings, so err on the side of less is more.
- Keep Warm: These tropical beauties thrive in temperatures above 10°C (50°F).
With the right techniques and a bit of patience, you can master the art of ZZ plant propagation. Whether gifting them to friends or filling your home with their lush greenery, your efforts will be rewarded with new life and beauty. Happy propagating!


