

Creating the right environment for your indoor plants is like setting the stage for a thriving show. One crucial element to get right? Drainage. Without it, your plants might just face a watery grave. Let’s dive into how you can craft a DIY planter drainage layer using gravel and clay balls, ensuring your plants have the best backstage crew supporting their health.
Why Proper Drainage Matters
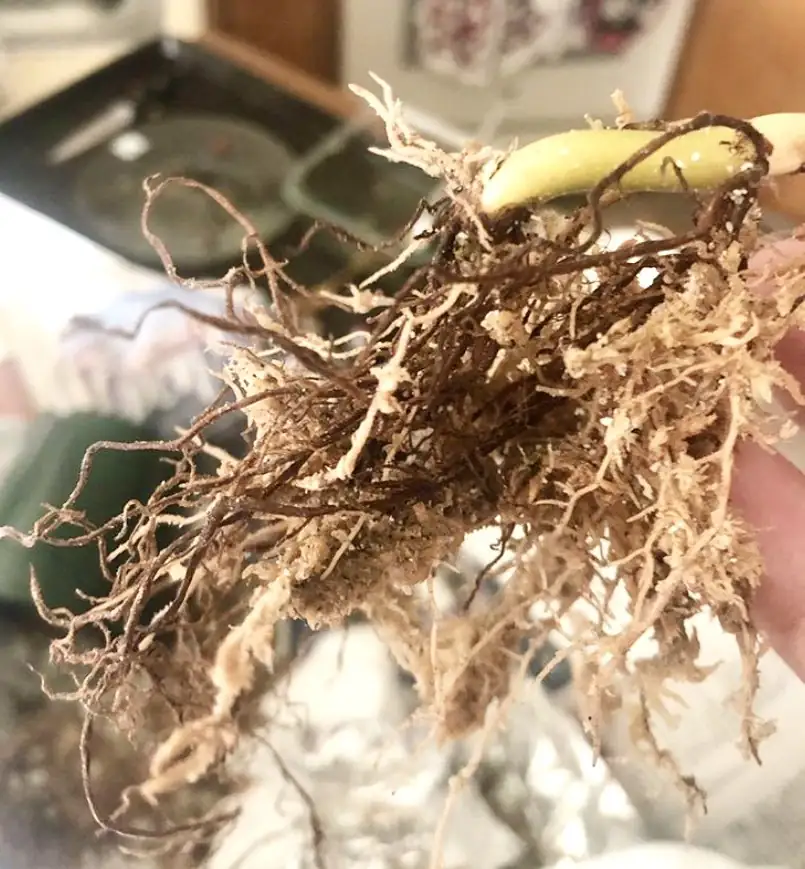
Before we roll up our sleeves, it’s important to understand why drainage is critical. Indoor planters don’t have natural drainage, like outdoor soil does, to whisk away excess water. If water sits around the roots, it can lead to root rot and suffocate your plants. Think of drainage as the ventilation system that keeps your plants’ roots healthy and thriving.
Materials for a DIY Drainage Layer
To create an effective drainage system, you’ll need gravel and clay balls. Each has its unique benefits:
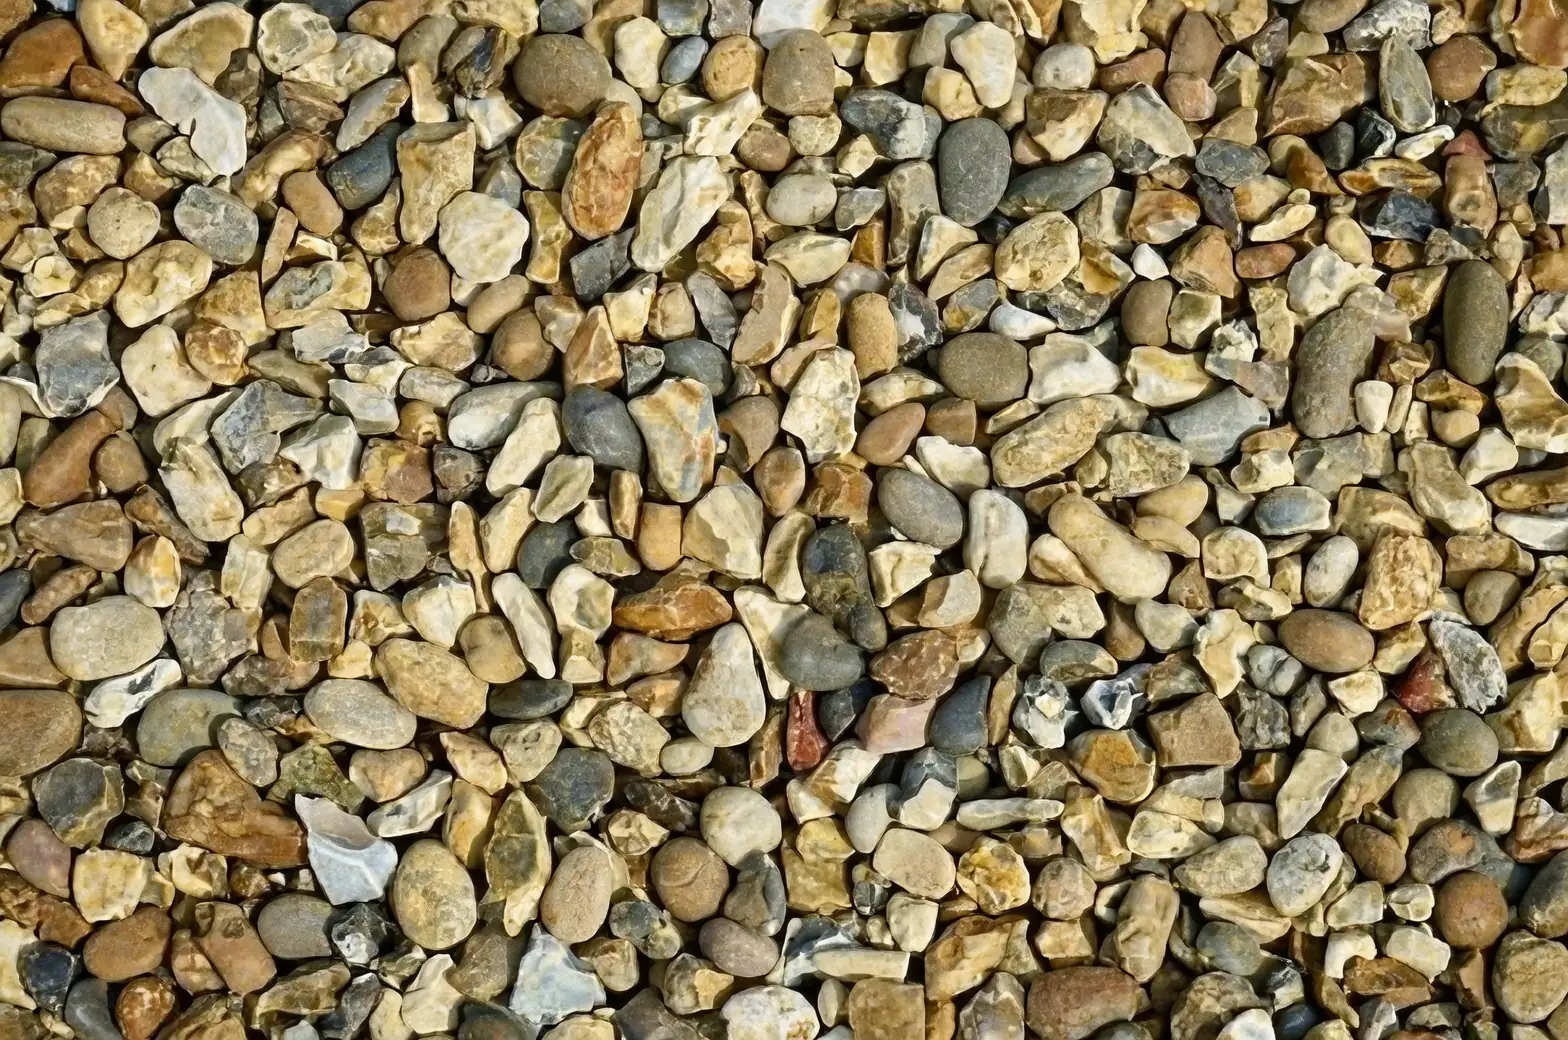
- Gravel: This is a classic choice for drainage. It’s affordable and easy to find. By placing gravel at the bottom of your planter, you create a space where excess water can pool away from the roots.
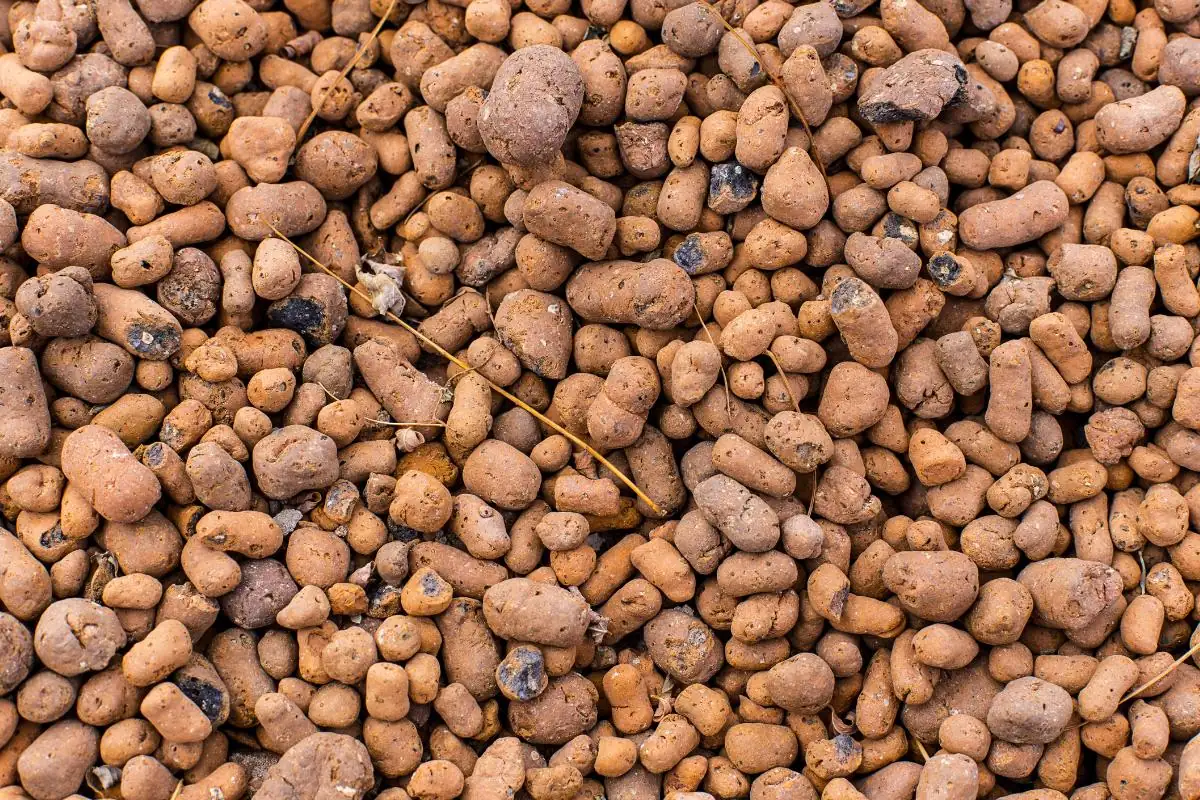
- Clay Balls (LECA): Lightweight Expanded Clay Aggregate (LECA) balls are porous, allowing for excellent aeration and preventing water from stagnating. They’re especially popular in hydroponics but work wonders in regular planters, too.
How to Layer Your Planter
Here’s a simple step-by-step guide to setting up your drainage layer:
- Choose the Right Pot: Ensure your planter has drainage holes at the bottom. Without these, even the best drainage layer won’t help much.
- Add Gravel: Begin by adding a layer of gravel at the bottom of your pot. For most planters, a 1-2 inch layer is sufficient. This layer helps create a gap for water to escape into, away from your plant’s roots.
- Layer with Clay Balls: On top of the gravel, add a layer of clay balls. A 2-3 inch layer usually works well. These balls will enhance aeration and further help with drainage.
- Add Potting Mix: Finally, top off your drainage layers with your preferred potting mix. Ensure it’s suited to your plant type—cacti and succulents, for example, prefer a well-draining mix.

Common Mistakes to Avoid
- Skipping Drainage Holes: No drainage holes mean water has nowhere to go. Always ensure your pot can release excess water.
- Overpacking Layers: Avoid packing your gravel and clay balls too tightly. This could impede water movement instead of aiding it.
- Relying Solely on Layers: While gravel and clay balls help, the potting mix should also be well-draining to prevent water from sitting around the roots.
Troubleshooting Tips
If your plant is still struggling despite proper drainage, consider these tips:
- Check Watering Habits: Overwatering is a common issue. Ensure you’re watering only when the top inch of the soil feels dry.
- Examine Light Conditions: Sometimes, poor drainage can mimic issues caused by inadequate light. Ensure your plant is getting the right amount of light for its species.
By mastering the art of planter drainage with gravel and clay balls, you set the stage for a flourishing indoor garden. Your plants will thank you, rewarding your efforts with vibrant growth and a splash of greenery. Happy planting!


