

Master the Art of Daylily Propagation: Tips for Continuous Blooms and Healthy Growth
Imagine a garden filled with vibrant splashes of orange, yellow, and red, each bloom a fleeting masterpiece that lasts but a day—and yet, the show goes on for weeks. Welcome to the world of the daylily, or _Hemerocallis fulva_, a true garden superstar known for its resilience, beauty, and almost magical ability to transform any landscape into a tapestry of color. If you’re ready to add these cheerful perennials to your garden or simply want to expand your existing collection, mastering the art of daylily propagation is your ticket to success.
The Daylily’s Secret to Endless Blooms
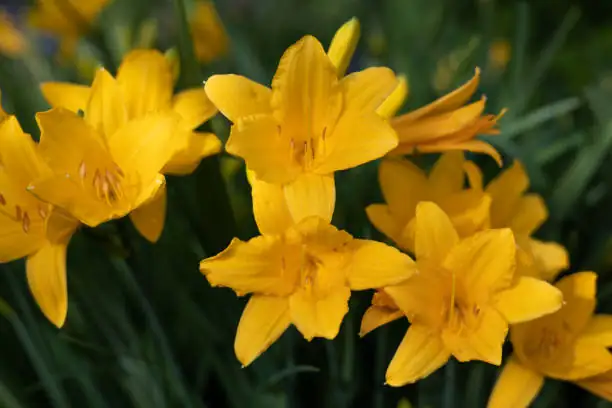
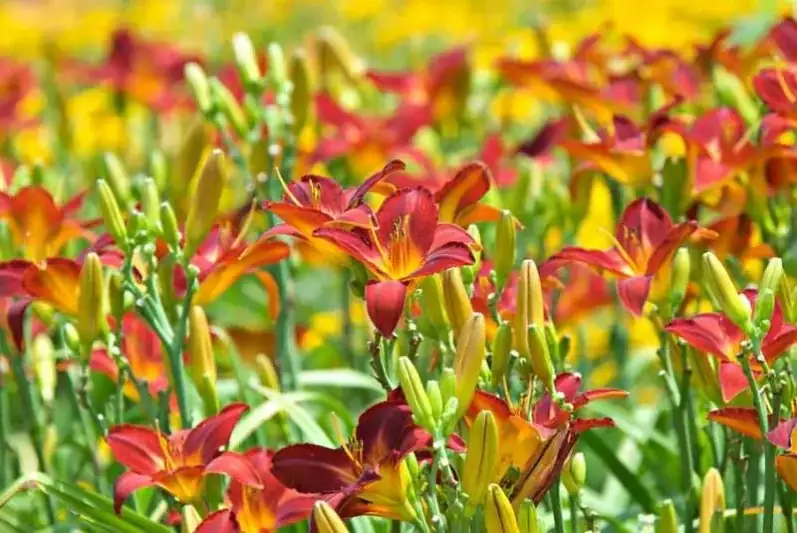
Daylilies are not your typical lilies. Native to Asia, these plants have naturalized in various parts of Europe and North America. Known by many names—Ditch Lily, Outhouse Lily, or even the Tiger Daylily—these plants are celebrated for their striking, star-shaped blooms that appear in an array of colors, from fiery oranges to soft pinks and purples.
What makes daylilies particularly fascinating is their growth habit. They form dense, grassy clumps that spread gradually over time, sprouting tall, leafless stems topped with numerous buds. Each blossom, a wonder of nature, lasts only a single day, but don’t fret—every stem is loaded with buds, ensuring that your garden remains a vibrant spectacle from late spring to fall.
Propagating Daylilies: Division and Beyond
Daylilies are famously forgiving, making them ideal for beginners and seasoned gardeners alike. The most reliable method of propagation is division, a straightforward process that rejuvenates plants and encourages robust blooming. Here’s how you can master it:
Division: A Step-by-Step Guide
- Timing is Everything: The best times to divide your daylilies are early spring, just as new growth begins, or late summer to early fall, after flowering. This timing allows the plants to establish themselves before winter.
- Digging Up Clumps: Use a garden fork or spade to carefully lift the clump from the ground. Aim to get as much of the root system as possible.
- Splitting the Clump: With a sharp knife or garden saw, divide the root ball into sections. Each section should have 3-4 fans of leaves and a healthy portion of roots.
- Replanting: Choose a sunny spot in your garden with well-drained soil. Replant the divisions, spacing them about a foot apart to allow for growth.
- Water and Wait: Water thoroughly after planting. Within weeks, your divided daylilies will start to establish, ready to burst into bloom the following season.

Other Methods: Seed and Proliferation
While division is the go-to method, daylilies can also be propagated from seed or through proliferations—small plantlets that form on the flowering scapes.
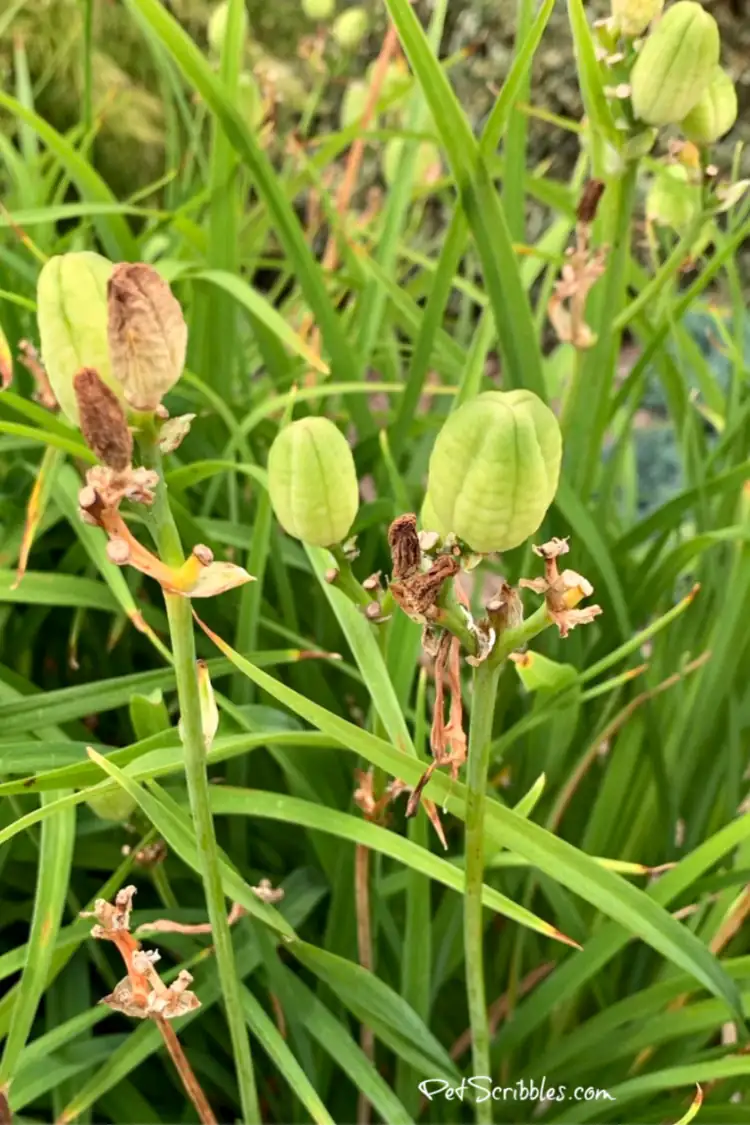
- Seeds: Collect seeds from the yellow-brown pods post-blooming. Keep in mind that seedlings may take 2-3 years to flower and might not resemble the parent plant, especially if the parent is a hybrid.
- Proliferations: These are mini plants that appear on the flower stems. Simply remove them with a bit of stem attached and root them in soil.
Creating the Perfect Environment
For the best results, plant your daylilies in full sun with at least six hours of direct sunlight daily. They thrive in USDA Zones 3–9, making them adaptable to a range of climates. Ensure your soil is well-drained and enriched with organic matter. Daylilies are drought-tolerant, but a weekly watering during dry spells will keep them flourishing.
Caring for Your Daylilies
These hardy perennials are low-maintenance, but a little care goes a long way:
- Fertilization: Apply a balanced fertilizer in spring to kickstart growth. An optional second feeding after flowering can encourage faster clump expansion.
- Pruning: Deadheading is optional but helps keep plants tidy. Remove spent flower scapes and clear away winter-damaged foliage in early spring.
- Pest and Disease Management: Daylilies are generally trouble-free, though they can attract aphids, slugs, and snails. Keep an eye out for daylily rust, which can be managed by removing affected foliage and ensuring good air circulation.
A Cultural Legacy
In Chinese culture, daylilies symbolize motherhood and the act of “forgetting sorrow,” a sentiment rooted in their historical use as a calming presence for mothers when sons traveled far from home. Their fleeting blooms also carry the poignant symbolism of beauty and the transitory nature of life, reminding us to appreciate each moment.
Conclusion
Whether you’re a novice gardener or a seasoned pro, the joy of daylilies lies in their vibrant blooms and their forgiving nature. By mastering propagation through division, you’ll not only ensure continuous blooms but also enhance the vigor and health of your daylily collection. So grab your spade, embrace the art of propagation, and let these resilient beauties transform your garden into a perennial paradise.


