

Ah, the joys of houseplants! They brighten our homes, purify the air, and give us a touch of nature’s tranquility. But sometimes, even the most well-intentioned plant parents can overdo it with the watering can. Overwatering is a common issue that can lead to root rot, a sneaky problem that threatens the very life of your beloved greenery. Fear not! With a little knowledge and prompt action, you can bring your plant back from the brink. Here’s how.
Spotting the Signs of Overwatering
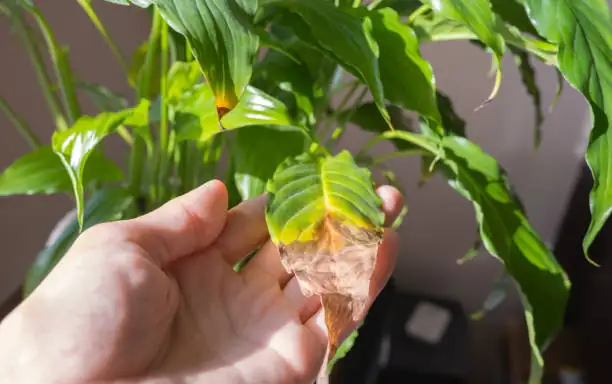
Before you can tackle root rot, you need to identify it. Overwatered plants often show these symptoms:
- Yellowing Leaves: Particularly lower leaves that feel soft.
- Wilting in Wet Soil: It might seem odd, but too much water can make plants look droopy.
- Mushy Stems: If the base feels soft, rot might have set in.
- Soggy Soil: Soil that remains wet days after watering is a red flag.
- Foul Odor: A musty smell indicates bacterial or fungal growth due to excess moisture.
If any of these signs are familiar, it’s time to take action!
Step-by-Step Revival for Your Plant
1. Gently Remove the Plant
Carefully take your plant out of its pot. You’ll want to be gentle here, especially if your plant is already stressed. Shake off any excess soil to expose the roots.
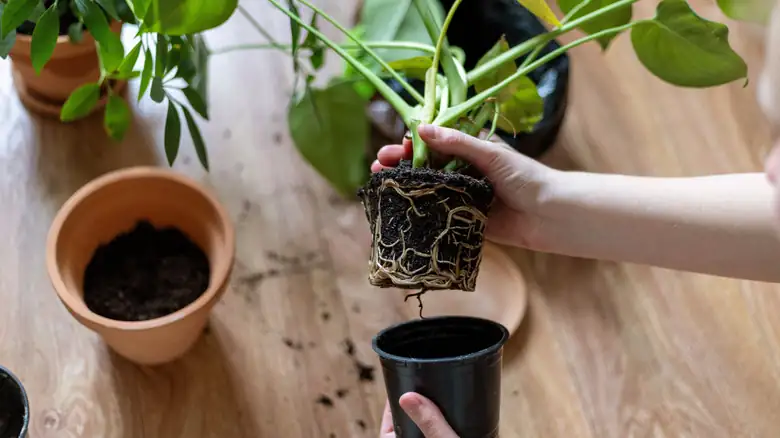
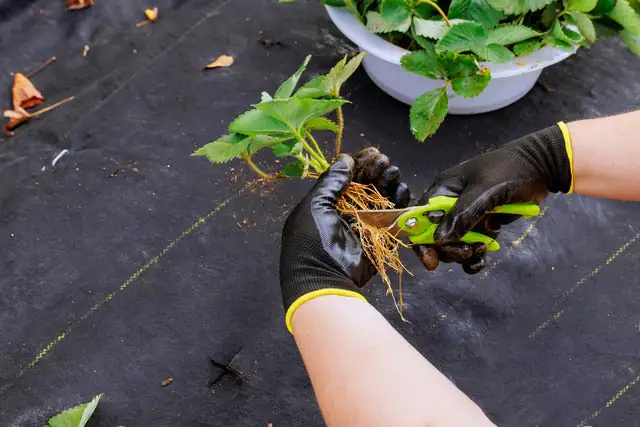
2. Inspect and Trim the Roots
Healthy roots are generally white or tan and feel firm. Diseased roots, however, will be brown, black, mushy, and might even smell bad. Using sterilized scissors or pruning shears, trim away all the affected roots. This might be nerve-wracking, but removing diseased parts is crucial to stop the rot from spreading.
3. Disinfect the Roots (Optional but Recommended)
In severe cases, consider soaking the roots in a diluted hydrogen peroxide solution (2 tablespoons of 3% hydrogen peroxide per 32 ounces of water). This can help kill any lingering bacteria and improve oxygen availability.
4. Give the Roots Some Air
Allow the plant to rest on a paper towel or clean surface for a few hours. This drying period helps evaporate any residual moisture, reducing further rot risk.
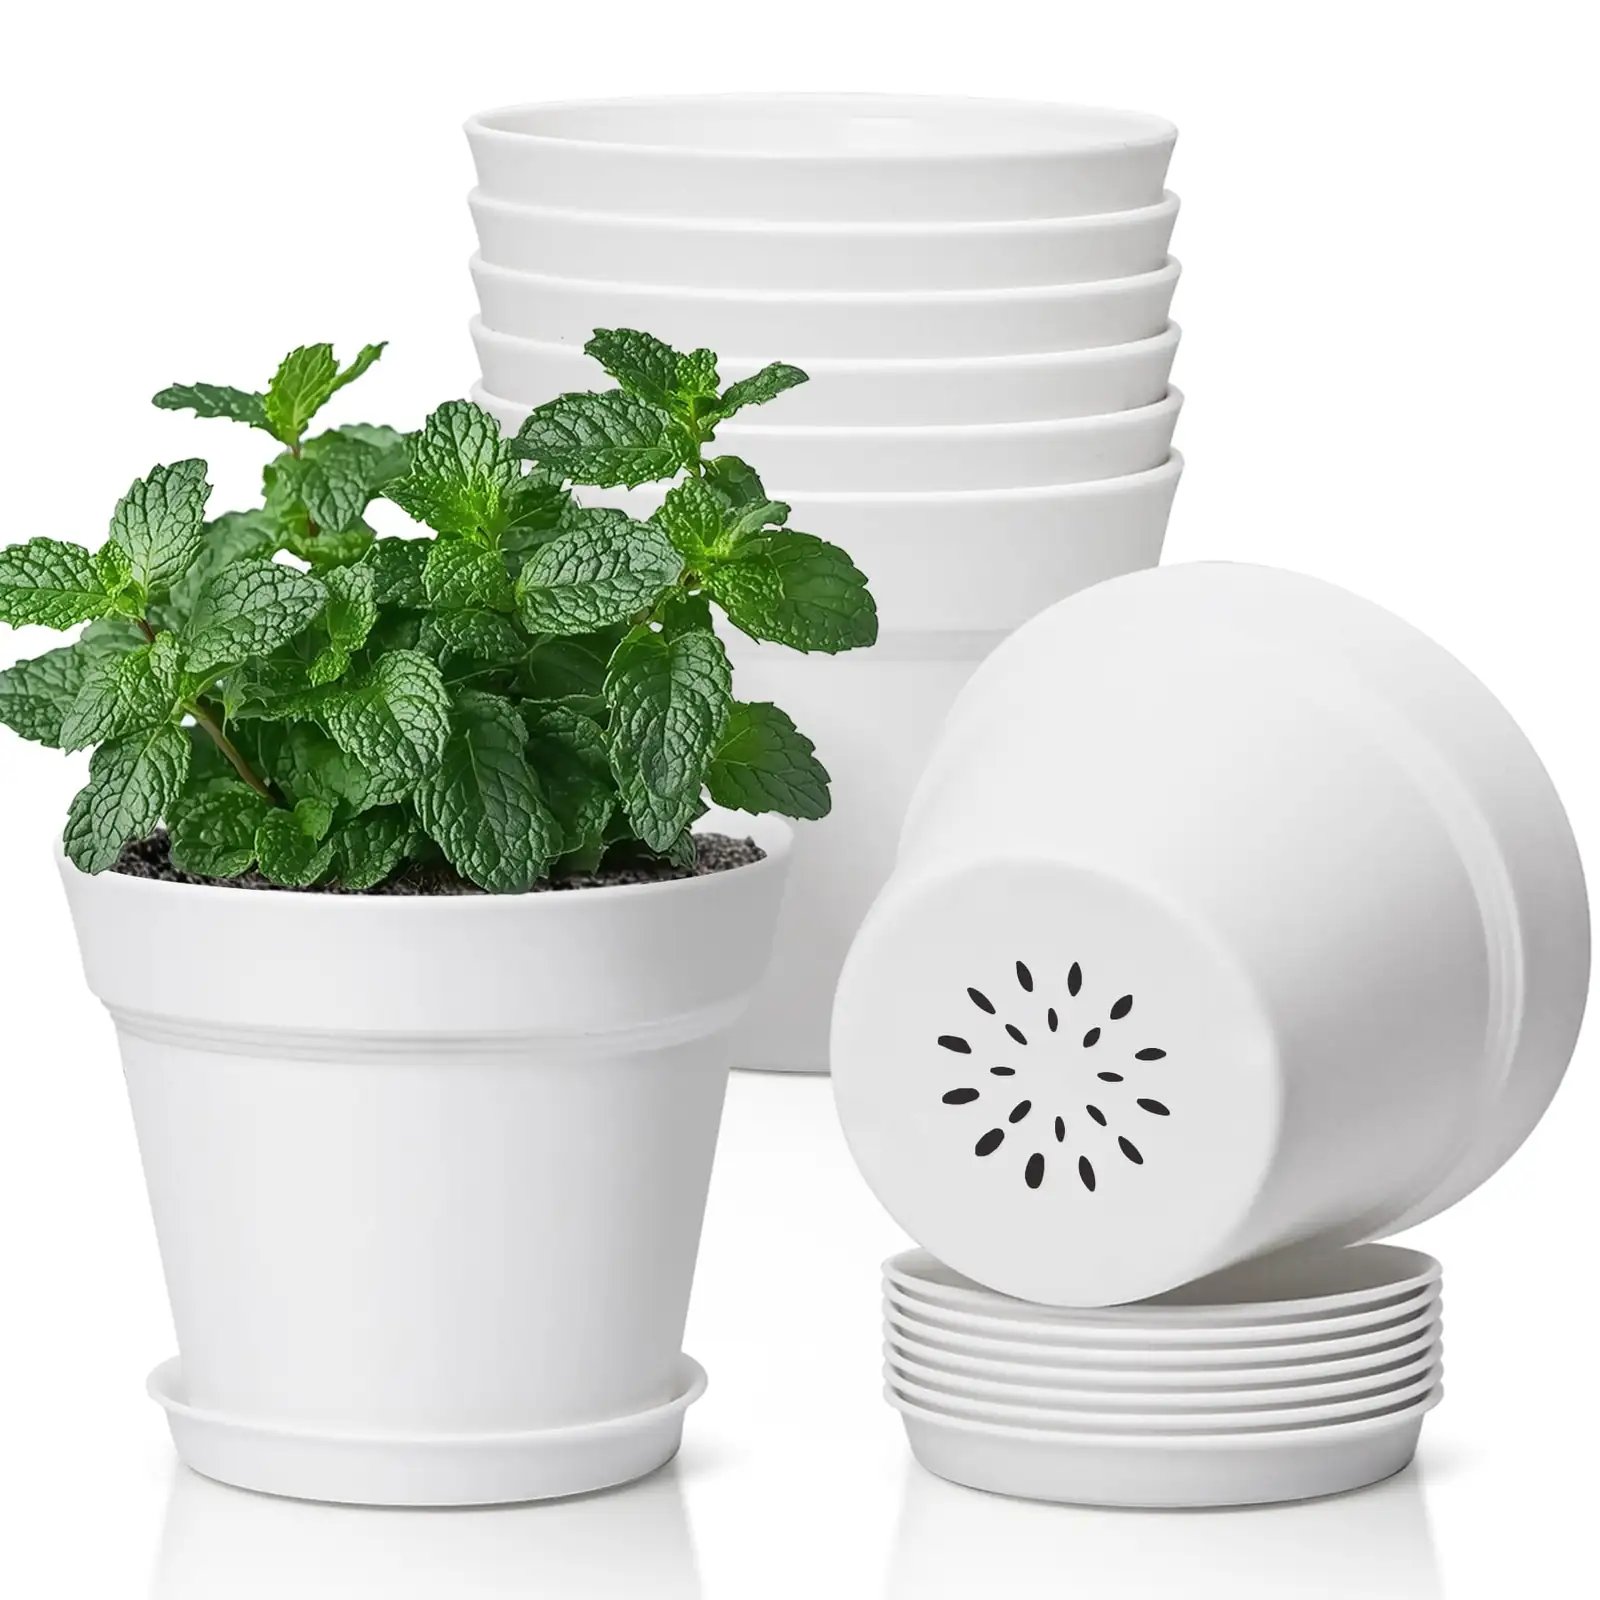
5. Repot with Fresh Soil
Choose a clean pot with ample drainage holes and fill it with fresh, well-draining soil. A mix containing perlite, sand, or bark chips can improve aeration. If you’re reusing the old pot, sterilize it with a hydrogen peroxide solution before replanting.
6. Care for Recovery
After repotting, prune a few leaves to lessen the burden on the recovering roots. Water only when the top 2 inches of soil are dry and place your plant in a spot with good light and airflow.
Preventing Future Root Rot
Prevention is always better than cure. Here’s how to keep your plant from drowning again:
- Check Soil Moisture: Before watering, poke your finger into the soil. If it feels moist, hold off on watering.
- Use the Right Soil Mix: Ensure your potting mix is well-draining.
- Adequate Drainage: Always use pots with drainage holes to prevent water from pooling at the bottom.
- Adjust Watering Schedule: Each plant has its own watering needs. Factor in environmental conditions like humidity and temperature.
By following these steps, you can revive a struggling houseplant and keep it thriving for years to come. Remember, a little bit of knowledge and care goes a long way in nurturing a green and vibrant home!


