Masterclass in Propagating Aglaonema: Unlocking the Secrets of Division and Stem Cuttings
Are you gazing at your lush Aglaonema, also known as the Chinese Evergreen, and thinking it’s time to expand your green family? Whether you’re a seasoned plant parent or a budding enthusiast, propagating this popular houseplant is both rewarding and straightforward. Let’s dive into the leafy world of Aglaonema and explore how you can propagate your plant through division and stem cuttings.
Why Propagate Aglaonema?
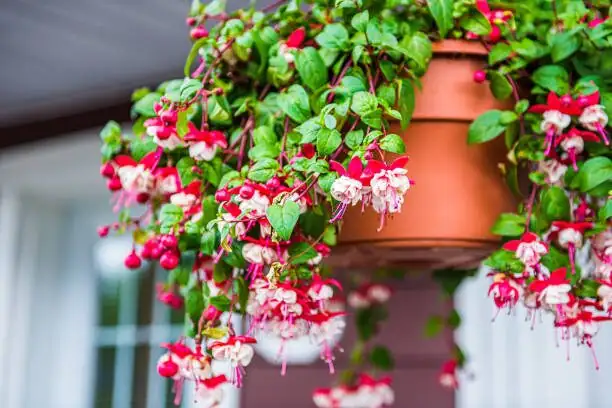
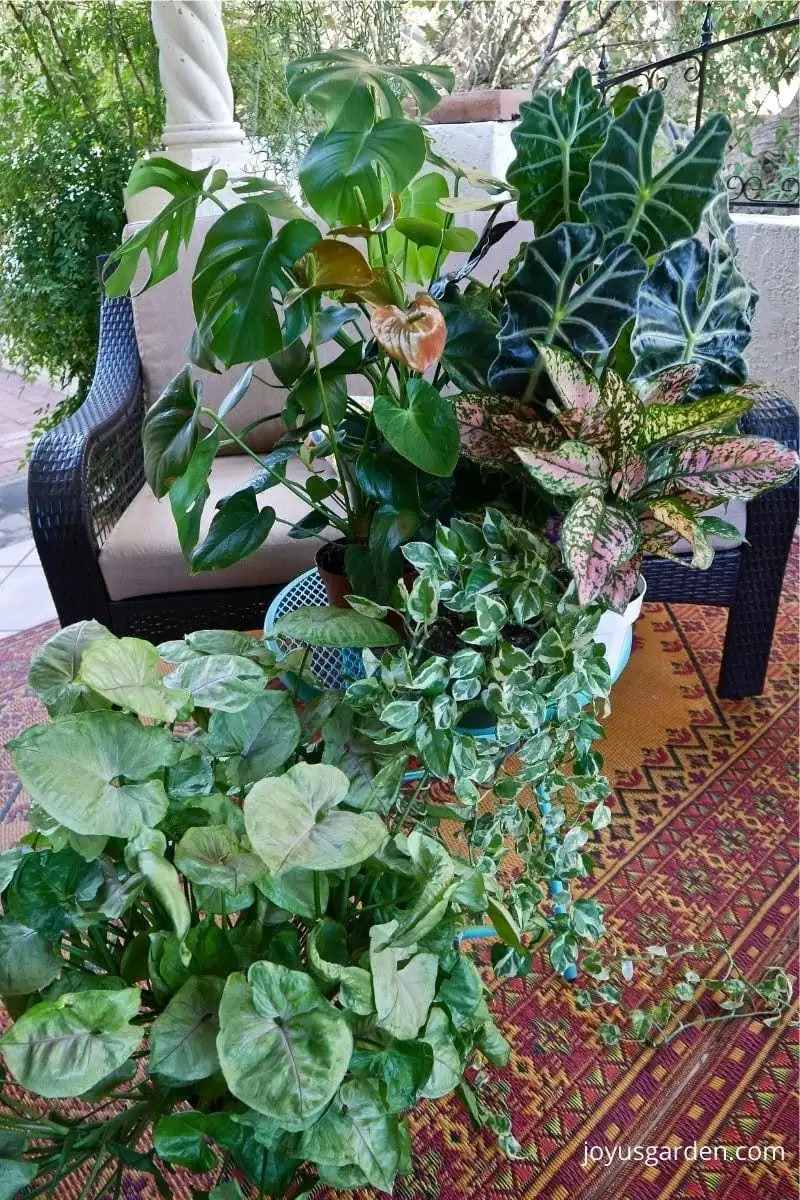
Imagine multiplying the beauty of your Aglaonema, with its glossy, variegated leaves in hues of silver, pink, or red, all without a trip to the nursery. Besides aesthetic appeal, these plants are renowned for their air-purifying abilities, making them a practical and decorative addition to any home. Plus, they are considered symbols of good luck and prosperity in Feng Shui, adding a positive vibe to your living space.
When to Propagate: Timing is Everything
The best time to propagate your Aglaonema is in spring or early summer. During these seasons, the plant is in its growth phase, which means it’s better equipped to recover from propagation and establish roots quickly. So, mark your calendar and get ready to multiply your Aglaonema collection!
Step-by-Step Guide to Aglaonema Propagation
Method 1: Division
Supplies Needed:
- A sharp, clean knife or garden shears
- A new pot with drainage holes
- Well-draining potting mix (peat-based with perlite or bark)
Steps:
- Prepare the Plant: Water your Aglaonema a day before the division to ensure it’s well-hydrated.
- Remove from Pot: Gently remove the plant from its pot. If it’s rootbound, gently loosen the roots.
- Divide the Plant: Look for natural divisions—these are clumps of stems with their own root systems. Using your knife or shears, carefully separate these clumps.
- Repot: Place each division into a new pot with fresh potting mix. Make sure the roots are covered, and the plant is stable.
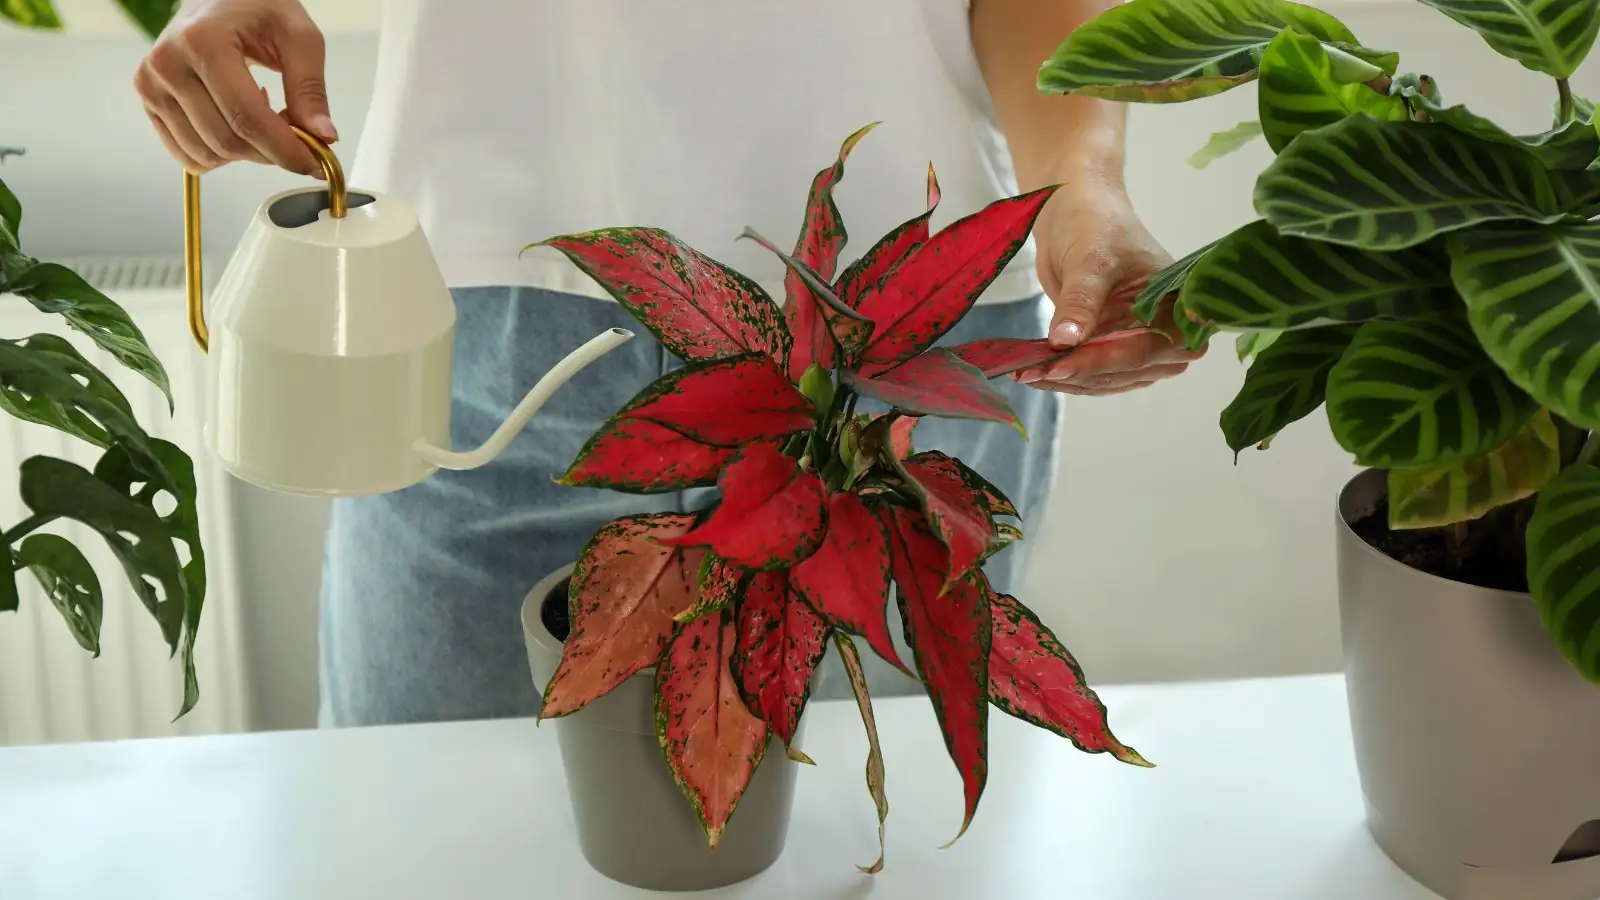
- Aftercare: Water the newly potted divisions thoroughly and place them in a spot with bright, indirect light. Keep the soil lightly moist as the plants establish.
Method 2: Stem Cuttings
Supplies Needed:
- Clean, sharp scissors or a knife
- Rooting hormone (optional)
- Small pots with drainage
- Potting mix or water (for rooting)
Steps:
- Select a Stem: Choose a healthy stem with at least one leaf node (a small bump on the stem where leaves emerge).
- Make the Cut: Using your scissors or knife, make a clean cut just below the leaf node.
- Apply Rooting Hormone (Optional): Dip the cut end in rooting hormone to encourage root growth.
- Rooting Options:
- Soil: Plant the cutting in a small pot filled with moistened potting mix. Ensure the node is buried in the soil.
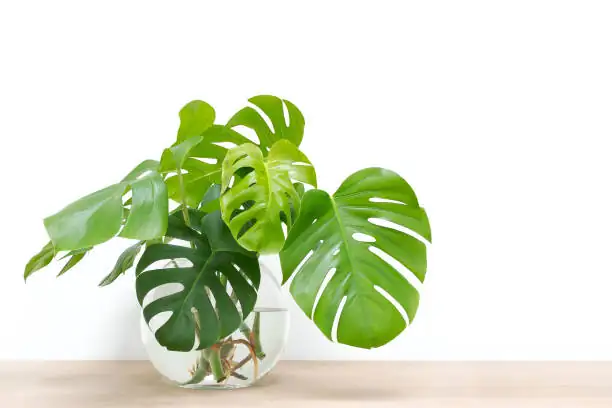
- Water: Place the cutting in a glass of water, making sure the node is submerged. Change the water every few days.
- Monitor Growth: Place the cutting in a warm, bright spot away from direct sunlight. Roots should develop in a few weeks.
Caring for New Aglaonema Plants
Once your new plants are established, continue to care for them like your original Aglaonema. Keep them in bright, indirect light, maintain moderate humidity, and water when the top 2 inches of soil feel dry. Avoid direct sunlight, as it can scorch their beautiful leaves.
A Final Leaf of Wisdom
Aglaonema propagation is not just about expanding your plant collection; it’s about nurturing new life and sharing the joy of greenery with others. These resilient plants not only beautify your space but also offer a breath of fresh air and a touch of luck. So, gather your tools, roll up your sleeves, and let your Aglaonema journey flourish!