

Discover Expert Techniques for Propagating Balloon Flowers
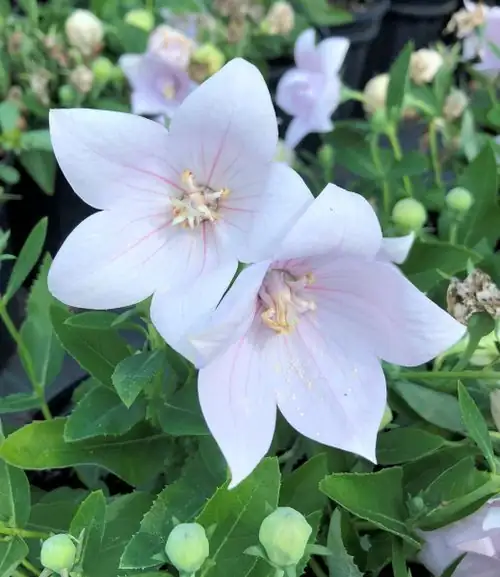
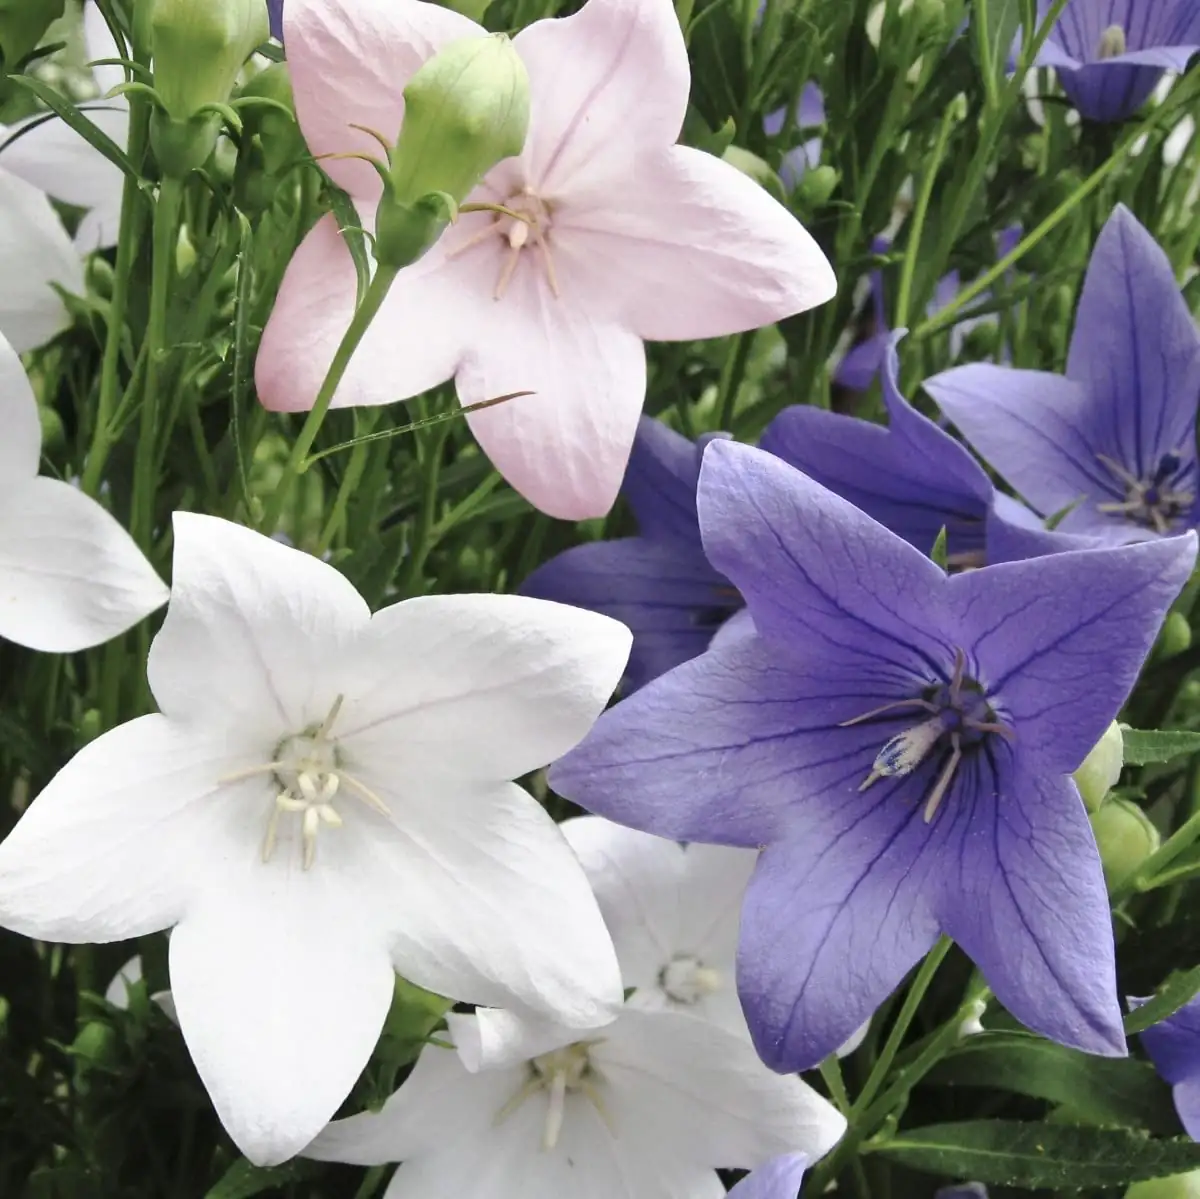
If you’ve ever marveled at the whimsical transformation of a balloon into a star, then you’ve experienced the magic of the Balloon Flower, or Platycodon grandiflorus. This enchanting perennial, known for its unique balloon-shaped buds that burst into star-shaped flowers, is a favorite among gardeners. Not only do they add a touch of whimsy to any garden, but they are also resilient and versatile, thriving in a range of conditions. Ready to grow your own? Let’s dive into expert techniques for propagating these captivating blooms.
Seed Sowing: The Art of Patience
Growing Balloon Flowers from seeds is akin to nurturing a secret that unfolds into a spectacular display. These seeds are tiny marvels, and planting them requires a gentle touch:
- Timing: Sow your seeds in spring, after the last frost, or opt for a fall planting. The latter allows nature to take its course, simulating winter conditions to break seed dormancy.
- Preparation: Because the seeds are minuscule, mixing them with sand can help distribute them evenly. Sprinkle them onto the soil surface and press gently—think of it as tucking them in under a light soil blanket.
- Moisture: Keep the seeds consistently moist. This doesn’t mean drowning them; rather, aim for a steady, nurturing dampness.
- Germination: Patience is key. Expect to see sprouts between 15 to 25 days. Remember, each little sprout is a promise of the beauty to come.
These seeds sometimes take their time, especially if starting with the taller varieties that focus on root development. But when they bloom, the reward is unequivocally worth the wait.
Cuttings: A Hands-On Approach
While seeds are a popular choice, taking cuttings offers a more immediate satisfaction. This method is perfect for gardeners who love to roll up their sleeves:
- Selection: In spring, choose healthy stems. These should be firm and free from disease.
- Technique: Cut a section about 4-6 inches long, just below a leaf node. Remove the lower leaves to prevent them from rotting in the soil.
- Rooting: Place the cuttings in a well-draining soil mix. Keeping the environment humid—perhaps with a plastic dome or bag—can encourage rooting. Be gentle; these young cuttings are delicate.

- Care: As roots develop, gradually acclimate the cuttings to outdoor conditions. Once they’re strong enough, you can plant them in their forever home.
The Soil and Sun Symphony
Balloon Flowers are not divas, but they do appreciate the right setting:
- Soil: They thrive in rich, loamy, well-drained soil. Avoid heavy clay or waterlogged areas to prevent rot.
- Sunlight: Aim for full sun exposure, although they’ll tolerate partial shade. In particularly hot climates, afternoon shade can prevent stress.
These plants are hardy perennials, returning year after year with minimal fuss. Once established, they’re quite drought-tolerant, thanks to their deep taproots.
A Word on Division
While many perennials can be propagated by division, Balloon Flowers are not fans of this method due to their deep taproots. Dividing them can be tricky and may cause more harm than good. Instead, stick to seeds or cuttings for the best results.
The Cultural Tapestry
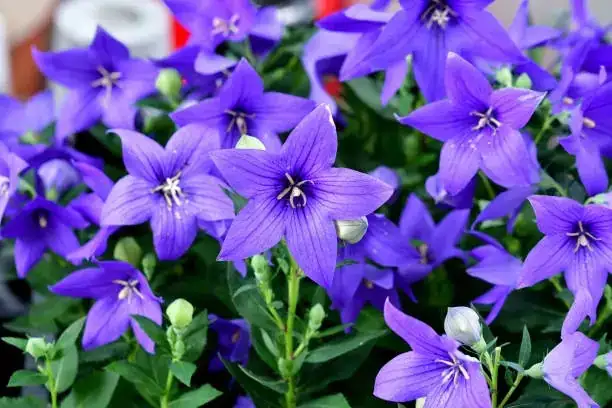
Beyond their garden appeal, Balloon Flowers hold a rich cultural significance. In Japan, they are often associated with honest feelings and enduring love—a symbol of steadfast devotion that reflects its resilient nature in the garden. The star-shaped bloom is considered auspicious, linked to the five elements or senses.
In Conclusion
Propagating Balloon Flowers is a journey that combines patience with a touch of magic. Whether you choose to plant seeds or take cuttings, these techniques will help you cultivate a garden filled with these delightful stars. As you watch them bloom, you’ll understand why Balloon Flowers have enchanted gardeners and cultures alike for centuries. So, why not try your hand at growing these botanical wonders and let them bring a touch of whimsy to your garden?


