

Growing hollyhocks from seeds can transform your garden into a lush, vertical tapestry of colors and charm, reminiscent of the idyllic cottage gardens of yesteryear. If you’ve ever dreamt of creating a vibrant display of towering blooms that sway gracefully in the summer breeze, you’re in the right place. Let’s explore the step-by-step process to grow these delightful plants from seeds and ensure a stunning floral display.
Getting Started: Choosing and Planting Hollyhock Seeds
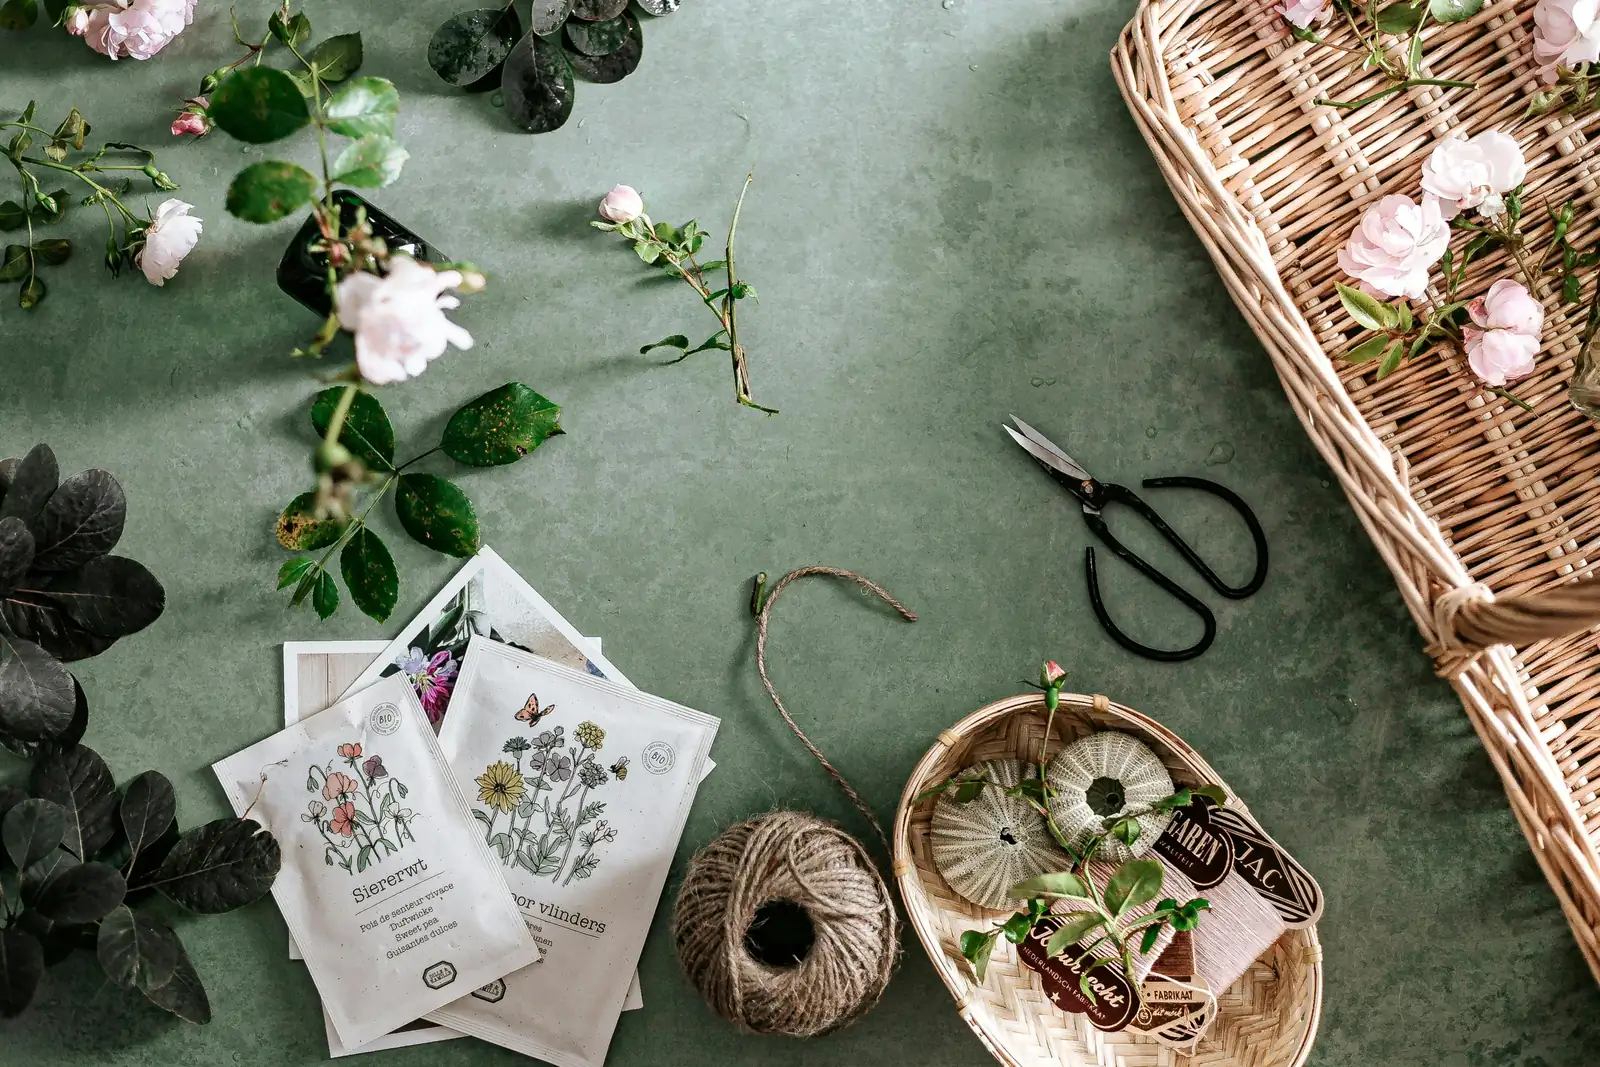
Selecting Your Seeds
Hollyhocks, or Alcea rosea, come in a kaleidoscope of colors, from soft pastels to bold, dark maroons. Start by choosing a variety that complements your garden design. Whether you’re drawn to the near-black drama of ‘Nigra’ or the sunny disposition of ‘Charters Double Yellow’, there’s a hollyhock to suit every taste. Look for seeds from reputable suppliers and check for freshness to ensure high germination rates.
Germination: The First Step to Success
Hollyhocks are biennials, meaning they typically spend their first year growing foliage and storing energy, then burst into bloom the following summer. However, with a little planning, you can coax them into flowering in their first year.
- Indoor Sowing: If you live in a region with cold winters, start seeds indoors about 8-10 weeks before the last expected frost. Use peat pots filled with a mix of perlite, vermiculite, and peat moss. Plant each seed about ¼ inch deep and keep the soil lightly moist.
- Outdoor Sowing: In milder climates, you can sow seeds directly into the garden in late spring or fall, about one week before the last frost date. Ensure the seeds are ¼ inch deep and spaced about 2 feet apart to allow room for growth.
Nurturing Seedlings: From Germination to Planting
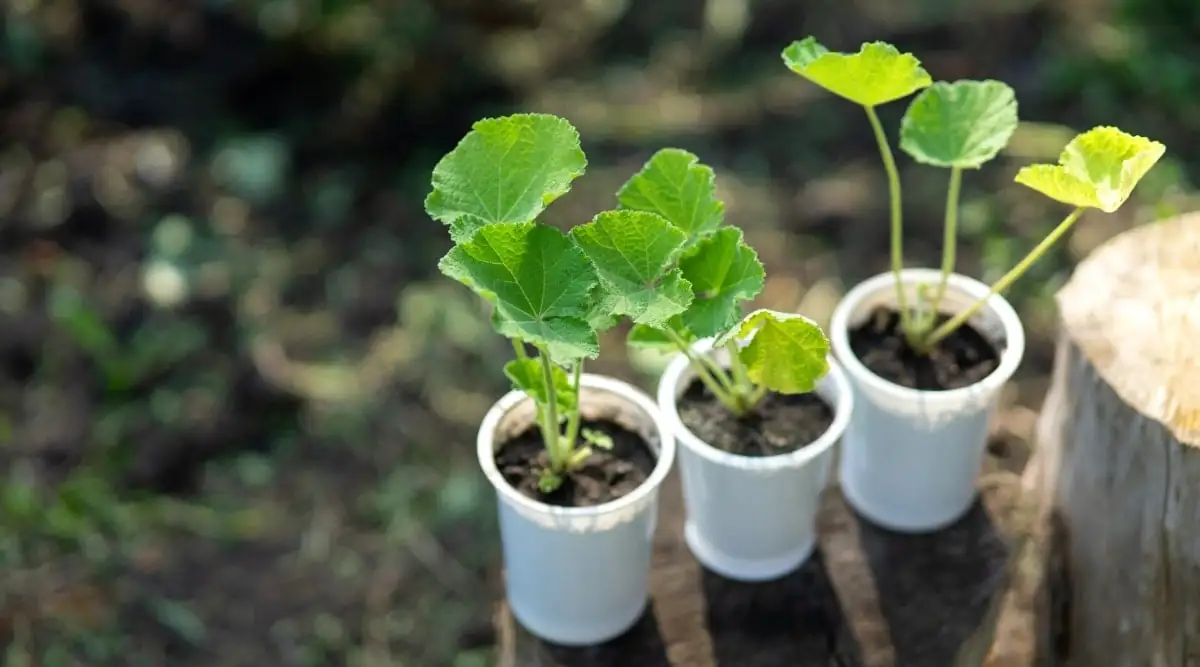
Once your seeds have germinated, usually within 10-14 days, and your seedlings have a few sets of leaves, it’s time to transplant them. If started indoors, move them to larger pots to accommodate their developing taproots. If outdoors, thin the seedlings to maintain the recommended spacing.
Preparing Your Garden Bed
Hollyhocks thrive in full sun and rich, well-draining soil. Before planting, enrich your garden bed with compost or aged manure to boost fertility and drainage. These towering plants also prefer a spot sheltered from strong winds, such as near a fence or wall.
Growing and Caring for Hollyhocks
Watering and Fertilization
Keep young plants evenly moist as they establish. Mature hollyhocks can tolerate short dry spells but thrive with regular, deep watering during hot, dry periods. Avoid wetting the leaves to minimize rust problems. Fertilize with a balanced formula, but as buds form, shift towards phosphorus and potassium to encourage blooms.
Staking and Maintenance
Given their impressive height, hollyhocks often need staking, especially in windy areas. Secure the tall spikes early to prevent flopping. Deadhead spent flowers to extend blooming and reduce unwanted self-seeding, unless you wish to collect seeds for future planting.
Tackling Common Challenges
Hollyhocks are relatively low-maintenance but can fall prey to hollyhock rust, a common fungal disease. Ensure good airflow, avoid overhead watering, and remove any infected leaves promptly. If rust appears, treat early with an appropriate fungicide.
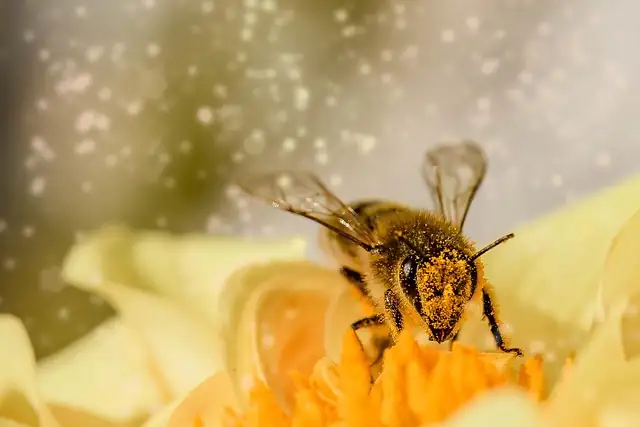
A Blooming Finale: Enjoying Your Hollyhocks
With proper care, your hollyhocks will reward you with a vertical spectacle of blooms from mid to late summer, drawing in bees, butterflies, and hummingbirds. Their association with dreams and ambition adds a touch of Victorian romance to your garden, symbolizing fruitfulness and the rhythm of life.
Collecting Seeds
At the end of the season, allow some seed heads to mature if you wish to collect seeds. Simply cut off the spent flower heads, remove the seeds, and store them in a cool, dry place for future planting.
Hollyhocks not only beautify your garden but also enrich it by supporting pollinators and adding vertical interest. Whether you’re a seasoned gardener or a beginner, growing these old-world favorites from seed is a rewarding endeavor, inviting a bit of history and a lot of color into your garden space. Happy planting!


